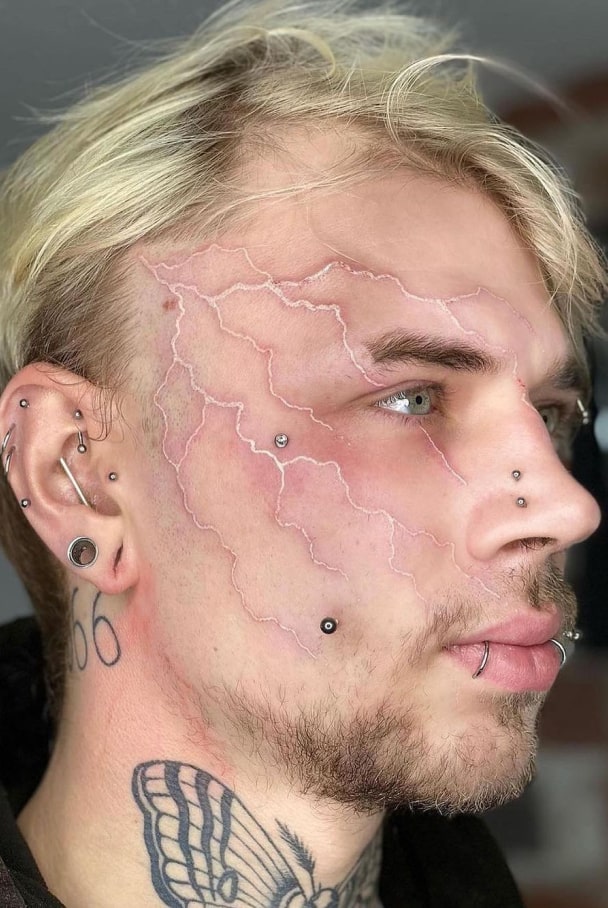


You're getting tattooed on your ribs. Or your sternum. Or your neck. Or that soft, paper-thin skin on your inner arm. And someone — probably the internet — told you these spots hurt like hell.
→ Shop TNC: TNC Tattoo Numbing Cream | TNC Numbing Spray
They're not wrong. These are some of the most painful places to get tattooed, and they're also the areas where people most desperately want numbing cream to work. Good news: it does. But there are nuances to getting the best results on each area.
Here's everything you need to know about using numbing cream on the body's most sensitive spots.
Can You Use Numbing Cream on Sensitive Areas? (Neck, Ribs, Inner Arm & More)
At TNC, we've helped over 600,000 customers make their tattoo experience more comfortable — here's what we've learned.
Why Sensitive Areas Hurt More
Before we talk solutions, it helps to understand why these areas are so painful in the first place. Three factors make a body part "sensitive" for tattooing:
- Thin skin — less padding between the needle and the nerve endings. Areas like ribs, sternum, neck, and inner arm have minimal subcutaneous fat.
- Nerve density — some areas have a higher concentration of nerve endings per square centimetre. Hands, feet, inner arms, and the neck are packed with sensory nerves.
- Bone proximity — when the needle hits areas directly over bone (ribs, sternum, spine, collarbone, knee), the vibration resonates through the bone, creating a deep, gnawing pain that's different from the sharp sting of skin-level work.
Numbing cream addresses the first two factors directly by blocking nerve signals in the area. The bone vibration factor is harder to eliminate, but significantly reduced pain from the skin-level sensation makes the bone buzz much more manageable.
For a complete breakdown of pain levels across every body part, check our tattoo pain chart.
Can You Use Numbing Cream on ALL These Areas?
Yes. Quality numbing cream with professional-strength is safe for use on all external skin surfaces. There are no body parts where numbing cream "doesn't work" — but there are areas where application technique matters more than others.Let's go through each sensitive area with specific advice.
Ribs
Pain level: 9/10 — consistently ranked as one of the most painful placements Why it's so bad: Minimal fat padding, skin stretched tight over bones, intercostal nerves running between ribs, and the area moves with every breath. Numbing cream tips for ribs:- Apply cream generously in the spaces between the ribs, not just on top of them — that's where the nerve bundles sit
- Use cling film to wrap around the torso. It can be tricky to keep wrap in place on the ribs — try wearing a tight-fitting old T-shirt over the cling film to hold everything in place
- Allow the full 60–90 minutes. Don't rush this area — thorough absorption matters more here than almost anywhere else
- Bring numbing spray for mid-session top-ups. Rib sessions are usually long, and the cream will wear off before you're done.
Read our full rib tattoo pain guide for a deep dive.
Sternum / Chest Centre
Pain level: 8–9/10 — bone directly under thin skin, high nerve density Why it's so bad: The sternum is a flat bone with almost zero fat cushion. Every needle stroke vibrates through the bone. For women, the area around the sternum is also particularly nerve-rich. Numbing cream tips for sternum:- Cover the entire sternum area including a few centimetres beyond where the tattoo will be — pain radiates outward from the sternum
- Cling film adheres well to the chest area. Secure it by tucking into a sports bra (for women) or wrapping around the torso
- The skin here is thin, which means the cream actually absorbs faster. You may get effective numbing in as little as 45 minutes, but 60 is still recommended
- Don't apply cream to the nipple area if the tattoo doesn't extend there — it's unnecessary and the skin is more reactive
Neck
Pain level: 7–9/10 — varies significantly between front, side, and back of neck Why it's so bad: Extremely thin skin, high nerve density, proximity to the spine and throat. The front of the neck (throat) is generally more painful than the back (nape). Side neck falls in between. Numbing cream tips for neck:- Apply cream in a thin-to-medium layer — the neck skin is already thin, so the cream penetrates faster
- Cling film on the neck requires careful application — wrap loosely enough to breathe comfortably. Never wrap tightly around the neck.
- For back-of-neck tattoos, have someone help you apply the cream evenly. It's hard to see and reach the nape properly on your own.
- Keep the wait time to 45–60 minutes for neck. Longer application doesn't help much here because the skin is so thin.
- Behind-the-ear extends into neck territory and is equally painful — apply cream to the entire area behind the ear and down the neck if the tattoo spans both.
Inner Arm / Inner Bicep
Pain level: 6–8/10 — the inner arm is significantly more painful than the outer arm Why it's so bad: Thin, soft skin with a high concentration of nerve endings. The skin on the inner arm barely sees sunlight or friction, so it's not toughened like the outer arm. Major nerves and blood vessels run through this area. Numbing cream tips for inner arm:- This is one of the easiest areas to apply cream to — straightforward access, flat surface
- Wrap cling film from just below the armpit to just above the inner elbow crease
- The inner arm absorbs cream well. Standard 60-minute wait time works great here.
- For ditch (inner elbow crease) work — which is especially painful — apply extra cream in that crease and make sure the cling film seals well
- The skin may redden slightly more here than on other areas — this is normal due to the thin skin and shouldn't concern your artist
Spine / Vertebrae
Pain level: 8–9/10 — direct bone contact the entire length Why it's so bad: The spine is bone directly under skin with almost no padding. Each vertebra sends vibrations through your skeleton. Longer pieces that follow the spine mean sustained exposure to the most uncomfortable type of tattoo pain. Numbing cream tips for spine:- Apply in a strip at least 5cm wider than the tattoo on each side — pain radiates from the spine outward
- Have someone help apply the cream and wrap. You cannot do a spine application solo effectively.
- Use extra cream over the bony prominences of each vertebra
- Spine tattoos are typically long sessions — numbing spray for the second half is essential
Hands and Fingers
Pain level: 8–9/10 — extremely nerve-dense, minimal fat, bones everywhere Why it's so bad: Hands have one of the highest nerve densities in the body (they need to — fine motor control requires thousands of sensory inputs). The skin on the back of the hand is very thin, and the palm has a different skin structure that makes tattooing painful in a different way. Numbing cream tips for hands:- Apply cream to the back of the hand and fingers, then put on a disposable latex or nitrile glove to act as occlusion — much easier than trying to wrap individual fingers in cling film
- For palm tattoos: numbing cream works less effectively on palms due to the thicker stratum corneum (callused skin). Apply for the full 90 minutes and accept that numbness will be partial.
- Wait time: 60–90 minutes with glove occlusion for back of hand, full 90 for palm
Feet and Ankles
Pain level: 7–9/10 — similar nerve density to hands, bony terrain Why it's so bad: Top of foot = thin skin over bone. Ankle = bone and tendon with no padding. Sole = thick callused skin that's also hypersensitive. Numbing cream tips for feet:- For top-of-foot: apply cream and wrap with cling film, then put on a clean sock to hold everything in place
- For ankle: wrap cling film around the ankle securely — it's a rounded surface so the wrap tends to slip
- Allow 60–90 minutes. The foot has variable skin thickness, so don't cut the time short.
General Tips for All Sensitive Areas
1. Don't Skimp on Cream
Sensitive areas need a thorough, thick application. About the thickness of a coin across the entire area. More isn't better past that point, but less is definitely worse.
2. Occlusion Is Non-Negotiable
Cling film (or similar occlusive wrap) is essential on every area. Without it, the cream sits on the surface and barely penetrates. With it, you get deep, effective numbing that reaches the nerve endings where the pain originates.
3. Time It Right
Don't apply cream and rush to your appointment. The 60–90 minute absorption window exists for a reason. For sensitive areas, lean toward the 90-minute end.
4. Bring Spray for Long Sessions
Most sensitive area tattoos involve longer-than-average sessions (rib pieces, spine work, full back). Cream covers the first 3–4 hours. Numbing spray extends coverage by reapplying to broken skin throughout the session. Read our numbing spray vs cream guide for the full breakdown.
5. Tell Your Artist
Always let your artist know you've applied numbing cream. Most experienced artists support it — a relaxed client who isn't flinching makes their work easier and the tattoo better. Read our guide on whether tattoo artists care about numbing cream.
FAQ: Numbing Cream on Sensitive Areas
Does numbing cream work differently on thin skin vs thick skin?
Yes. Thin skin (inner arm, neck, ribs) absorbs cream faster and gets numb more effectively. Thick skin (palms, soles of feet) takes longer to absorb and the numbing is less complete. For thick-skinned areas, always apply for the full 90 minutes with occlusion.
Will numbing cream make my sensitive area tattoo completely painless?
It will significantly reduce pain — most people report going from a 9/10 to a 2–4/10 on sensitive areas. Complete numbness isn't guaranteed, especially over bone (where the vibration sensation still comes through). But the sharp, stinging pain of the needle on skin is almost entirely eliminated.
Can I use numbing cream on my face?
Yes, numbing cream can be used on the face for tattoos, microblading, or cosmetic procedures. Apply carefully, avoiding the eyes and lips (unless the procedure involves the lip line, in which case use a product specifically rated for mucous membranes). The face has thin skin and absorbs quickly — 45–60 minutes is usually sufficient.
Is it safe to use numbing cream near joints (elbow, knee, ankle)?
Absolutely. Joints are some of the most painful tattoo locations and respond well to numbing cream. Apply generously around the joint, covering both the top and sides. Cling film can be tricky on bendy joints — wrap it when the joint is slightly bent (the position you'll hold during tattooing).
Getting tattooed somewhere sensitive? Don't tough it out. The Signature Tattoo Numbing Cream takes the edge off even the most painful placements, and Miracle Numb Spray keeps you comfortable through long sessions. Sensitive areas don't have to mean suffering.