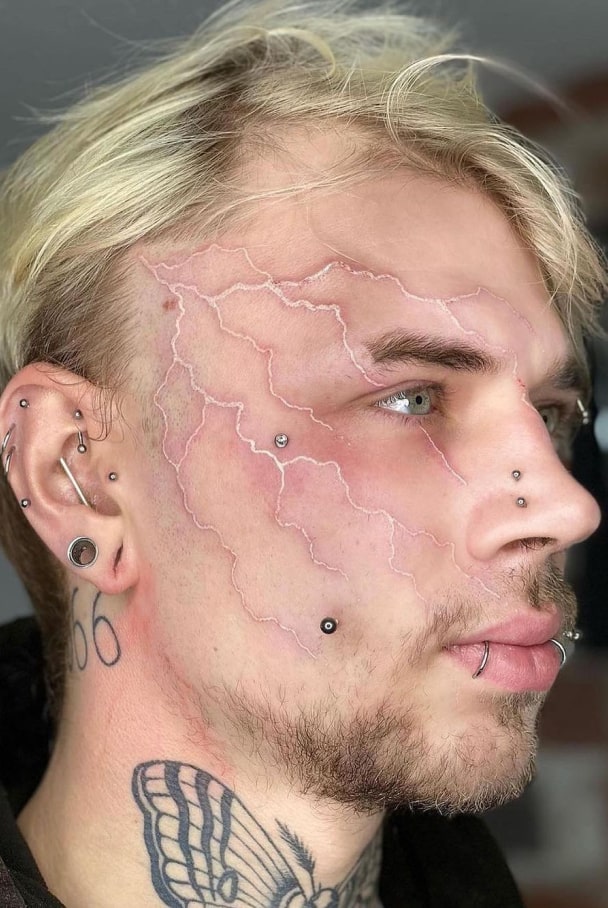
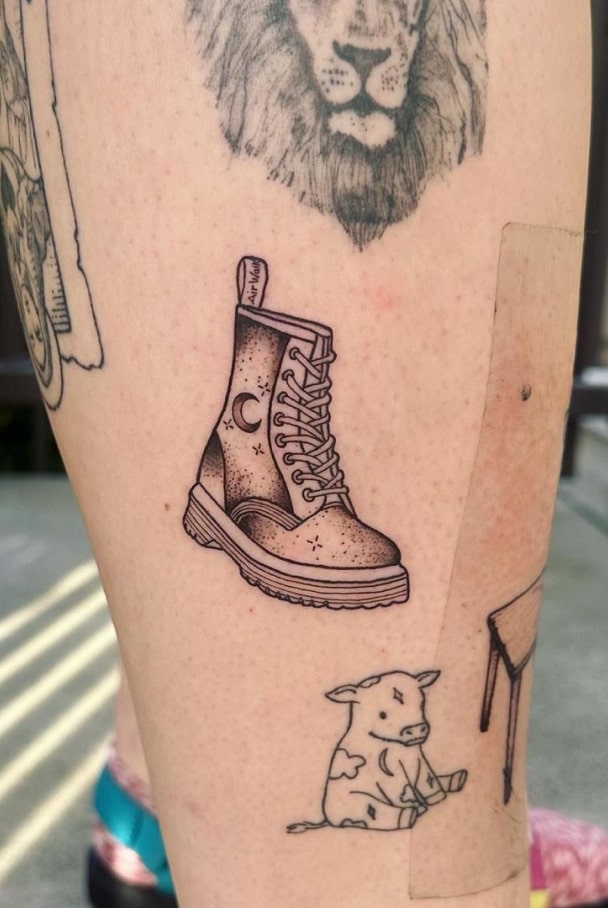
It can be difficult getting your design ideas to your artist and making your imagination come to life. You can always design your own tattoo or have the professional artist design what you describe to them, but there always needs to be a way to get that perfect design onto your skin.
By using tattoo transfer paper, this problem is solved entirely. This paper is essentially carbon copy paper for tattoos, that leaves a design outline on your skin. The outcome will look as though you have a temporary or fake tattoo.
In this blog, we will discuss how to use tattoo transfer paper and the difference between all the types of transfer paper you can get.
If you’re getting a tattoo and don’t want to experience the pain, why not try Tattoo Numbing Cream?
Hectograph and freehand tattoo transfer paper
→ Shop TNC: TNC Numbing Spray | Tattoo Armour SPF 30+
At TNC, we've helped over 600,000 customers make their tattoo experience more comfortable — here's what we've learned.
Otherwise known as manual transfer papers, these types of paperwork are exactly the same as carbon paper. They used to use a very similar type of paper for typewriters and old printers. You will typically find three sheets of paper using hectograph transfer paper. You will remove the middle layer of paper before drawing your design onto the top layer. As you’re drawing, the design will be transferred onto the bottom sheet of paper. You can draw on manual transfer paper using anything, but if you want to be as accurate as possible, you should use a hectograph pencil. When your design is complete, you can cut the design and place the paper where you would like the tattoo to be. When you have the tattoo in the best place, you should wipe the carbon paper onto your skin with a damp sponge before removal. There you have it! Your stencil is ready.
This transfer paper tends to be the most cost-effective and is easier to redo if a mistake is made. In addition to this, you can get manual transfer paper in a variety of colours, meaning you can choose a colour completely contrasted to the client’s skin.
If you’re getting a tattoo and don’t want to experience the pain, why not try Tattoo Numbing Cream?
Thermographic tattoo transfer paper
Where manual transfer papers use three layers of paper, thermographic tattoo transfer paper has four. Firstly is a white layer on which you will draw your design. Second in line is a protective layer that is normally thrown away. On the third layer is an ink that is typically purple. Lastly, there is a yellow layer that holds all the sheets together.
To use thermographic tattoo paper, you must create your design on a normal sheet of paper and then slide this between the bottom yellow sheet and the ink layer. You will then place all of the papers through a thermogenic transfer maker. You should always wash the area that you are planning to get inked before applying the carbon copy. Make sure that you press down on the paper and smooth it out before removing the paper.
You will often find these machines in tattoo shops or local print shops. In recent years, thermographic tattoo transfer paper has been available in different colours, but this hasn’t always been the case.
Conclusion
You always want to make sure that the tattoo you’re getting is what you want and transfer paper can be a great way to accomplish this. You should always make sure that you use hectograph pencil and get good quality transfer paper to ensure that you get the best results.
Thank you for reading our blog ‘How to use tattoo transfer paper’. If you would like to experience your next tattoo pain-free, why not try Tattoo Numbing Cream?